仿射变换、简单旋转和缩放还是其他什么?
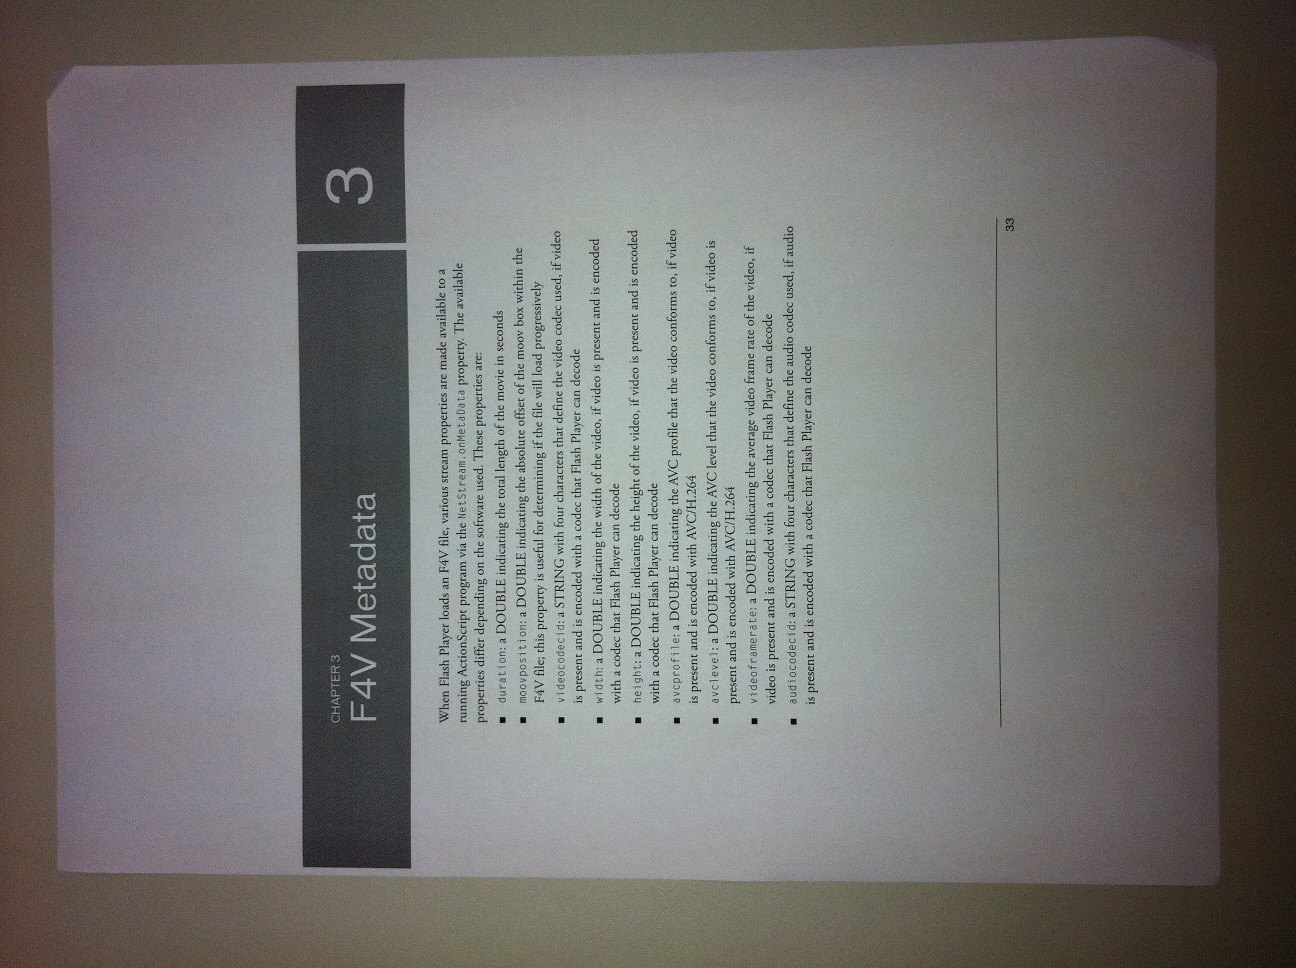
场景是这样的:我有一张论文的图片,我想对其进行 OCR 处理。因此,以下面的图像作为我的输入示例:

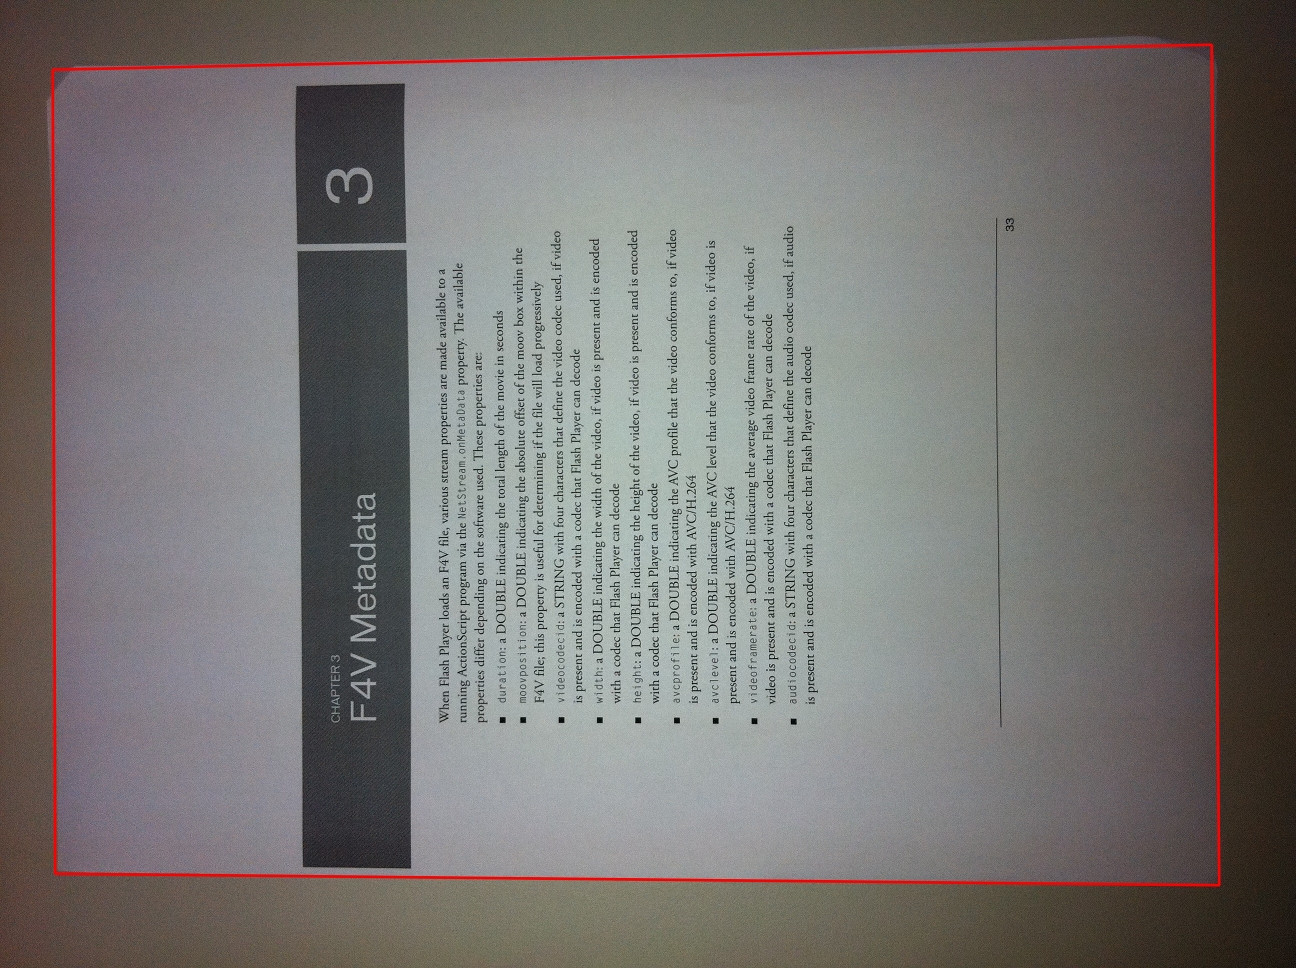
成功检测到与我留下的纸张相对应的区域后一个包含 4 个坐标的向量

在这种情况下,点是: [1215, 43] 、 [52, 67] 、 [56, 869] 和 [1216, 884]
此时,我需要调整这些点,使它们对齐水平地。我这么说是什么意思?如果您注意到上面子图像的区域,它会稍微旋转:图像右侧的点位置比另一侧的点稍高。
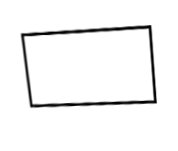
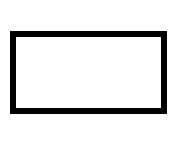
换句话说,我们有图像 A,故意夸张,看起来比现实更扭曲/旋转,然后是图像 B - 这就是我想要的作为此过程的最终结果:
A)  B)
B) 
我不确定可以使用哪些技术来实现这种转换。该应用程序还需要自动检测需要完成多少旋转,因为我无法控制图像采集过程。
目的是获得一个带有标准化子图像的新Mat。我现在并不担心可能的图像失真,我只是在寻找一种方法来确定子图像需要进行多少旋转以及如何应用它并获得更多的矩形区域< /em>.
The scenario goes like this: I have a picture of a paper that I would like to do some OCR. So take the image below as my input example:

After successfully detecting the area that corresponds to the paper I'm left with a vector<Point> of 4 coordinates that define its location inside the image. Note that these coordinates will probably not correspond to a perfect rectangle due to the distance of the camera and angle when the picture was taken. For viewing purposes I connected the points in the sub-image so you can see what I mean:

In this case, the points are: [1215, 43] , [52, 67] , [56, 869] and [1216, 884]
At this moment, I need to adjust these points so they become aligned horizontally. What do I mean by that? If you notice the area of the sub-image above, it is a little rotated: the points on right side of the image are positioned a little higher than points on the other side.
In other words, we have image A, which was exaggerated on purpose to look a little more distorted/rotated than reality, and then image B - which is what I would like as the final result of this procedure:
A)  B)
B) 
I'm not sure which techniques could be used to achieve this transformation. The application also needs to detect automatically how much rotation needs to be done, as I don't have control over the image acquisition procedure.
The purpose is to have a new Mat with the normalized sub-image. I'm not worried about a possible image distortion right now, I'm just looking for a way to identify how much rotation needs to be done on the sub-image and how to apply it and get a more rectangular area.
如果你对这篇内容有疑问,欢迎到本站社区发帖提问 参与讨论,获取更多帮助,或者扫码二维码加入 Web 技术交流群。

绑定邮箱获取回复消息
由于您还没有绑定你的真实邮箱,如果其他用户或者作者回复了您的评论,将不能在第一时间通知您!

发布评论
评论(2)
我认为 http://felix.abecassis.me/2011/10/opencv-旋转校正/ 和 http://felix.abecassis.me/2011/10/opencv- bounding-box-skew-angle/ 会派上用场。上述帖子不涉及透视变形(仅旋转)。要获得最佳结果,您必须使用
warpPerspective(也许与getRotationMatrix2D结合使用)。使用线段之间的角度来找出需要扭曲透视的程度。这里的假设是它们应该始终为 90 度,并且就透视而言,最接近 90 度的向量是“最接近”的向量。不要忘记标准化你的向量!
I think http://felix.abecassis.me/2011/10/opencv-rotation-deskewing/ and http://felix.abecassis.me/2011/10/opencv-bounding-box-skew-angle/ will come in handy. The aforementioned posts don't cover perspective warping (only rotation). To get the best results, you'll have to use
warpPerspective(maybe in conjunction withgetRotationMatrix2D). Use the angles between line segments to find out how much you need to warp the perspective. THe assumption here is that they should always be 90 degrees and that the closest one to 90 degrees is the "closest" vector as far as the perspective is concerned.Don't forget to normalize your vectors!
这称为梯形校正或梯形校正。它将看起来像梯形的形状转换为矩形。
图书扫描向导程序提供了纠正此问题的技术,您可能需要检查一下。
It's called Keystone correction, or keystoning. It transforms a shape that looks like a trapezoid into a rectangle.
Book Scan Wizard program offers techniques to correct this artifact, you may want to check it out.